This article will guide you on how to add or edit DNS records for a domain in Plesk Control Panel.
Step: 1
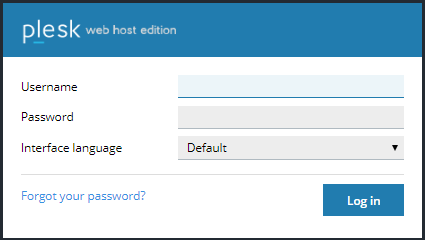
Login to the Plesk Panel:
URL:
http://IP-address:8880Username: admin
Password: As per set by you
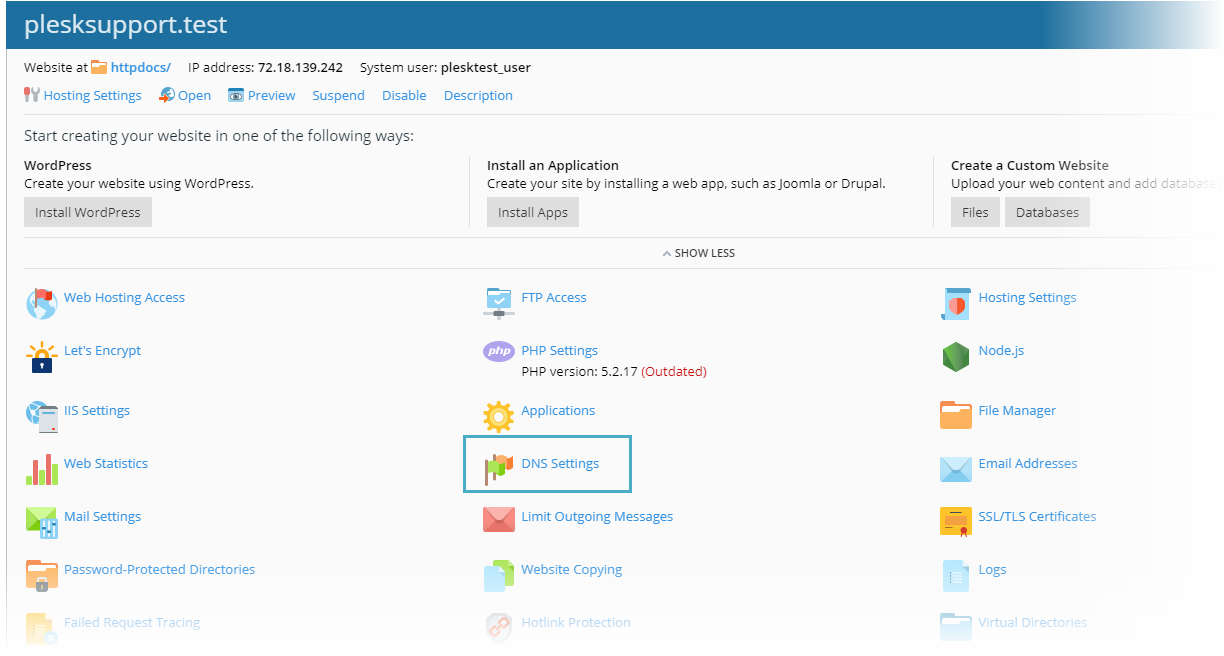
Here, you will be able to see the dashboard. Please select the domain and click on the “DNS Settings” to add/edit the DNS records.
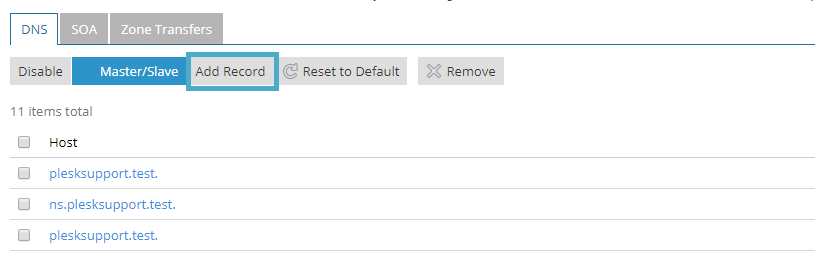
You will now able to able to add the select the type of DNS records from the drop down menu.
Step: 3
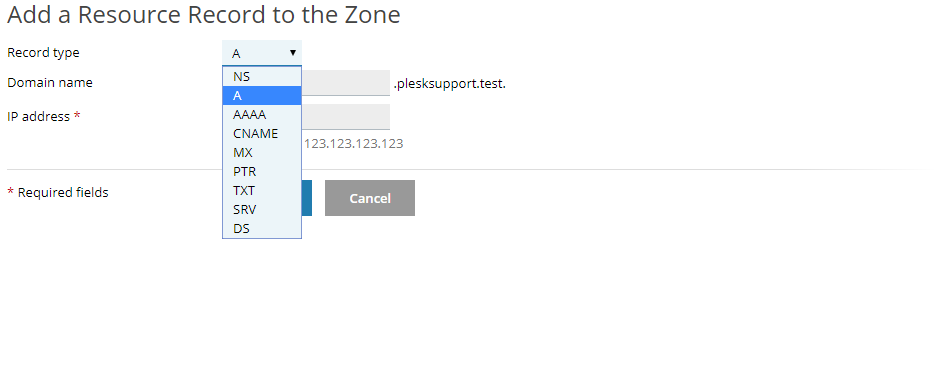
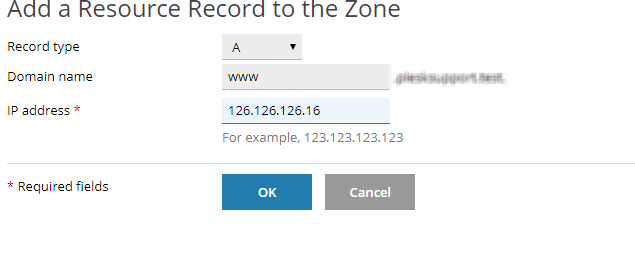
To add A record, please refer to below mentioned steps:
Select Record Type: A
Domain Name: Here, put the required name. e.g., www
IP address: Enter appropriate IP address.
Once, all details are added, click on “OK”.
Step: 4
Now, you will need to update the DNS records to save the changes. Please refer to below screen captures:

Once these changes are saved, DNS records will be updated on the server.