Once post office has been created, you'll need a mail domain to create emails. In this tutorial, we'll walk you through creating a mail domain in MailEnable console. It is assumed that postoffice has already been created.
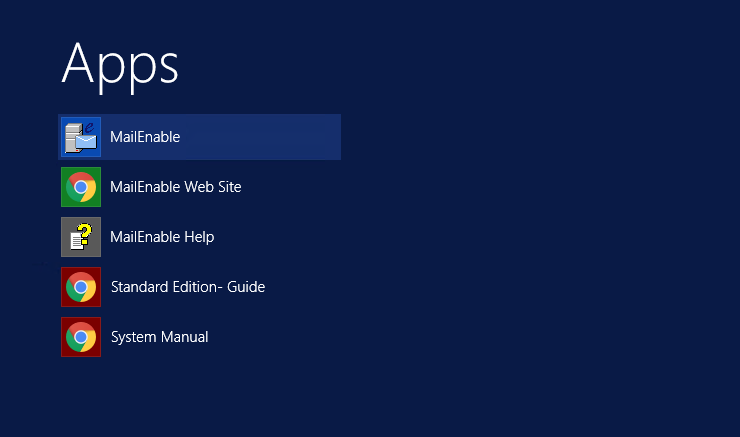
1. Start Mail Enable console from Start menu in Microsoft Windows. Go to
Start → search for
Mail Enable in
Apps → once found click on
MailEnable icon.
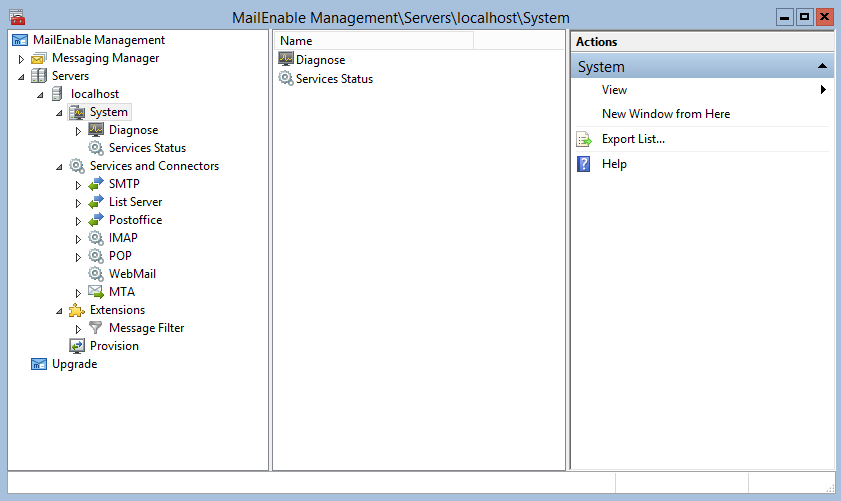
2. The MailEnable Administration program will open and you will be presented with a window similar to the following.
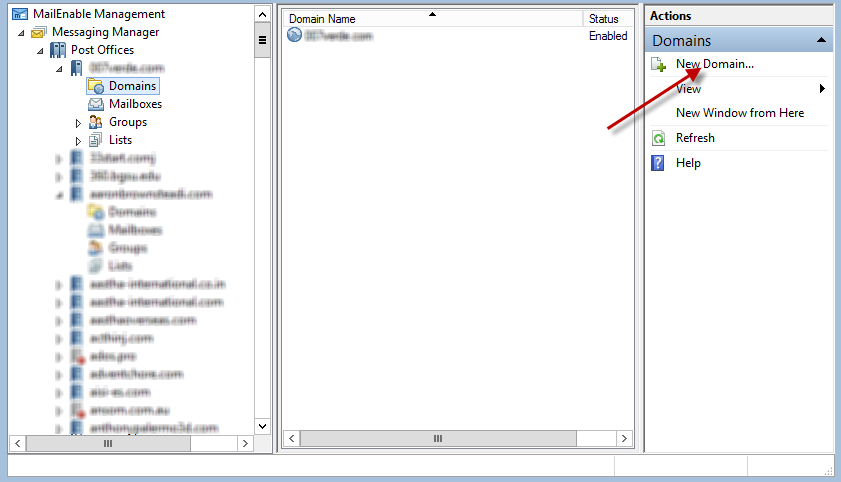
3. From the right hand side window of the MailEnable Administration Console, click on the
Create Domain icon
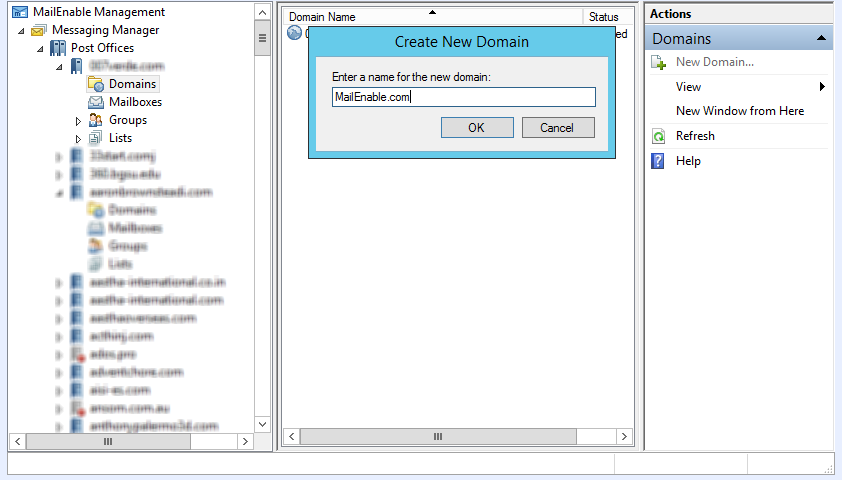
3. You will be prompted for the domain to add. Here you must enter the
full domain you wish to receive emails for. For instance, if you wish to
receive emails such as sales@mailenable.com or info@mailenable.com, you
would enter the domain mailenable.com here. The domain you add will now
appear under the Domains branch.
You have now created a mail domain.