A post office is where you group domains and mailboxes for a customer.
If you are a home user, or only expect to host your own domains, you
will most likely only have one post office. If you host multiple domains
for various people, you would create multiple post offices for customer accounts. In this tutorial, we'll walk you through creating a PostOffice in MailEnable console. It is assumed that MailEnable has already been installed on your Microsoft Windows server.
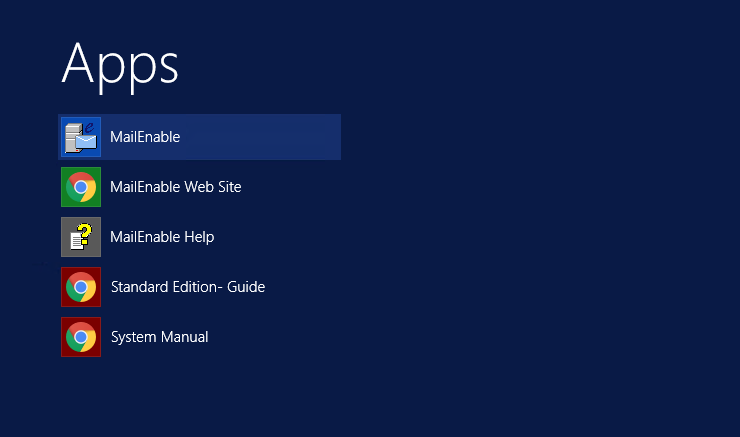
1. Start Mail Enable console from Start menu in Microsoft Windows. Go to
Start → search for
Mail Enable in
Apps → once found click on
MailEnable icon.
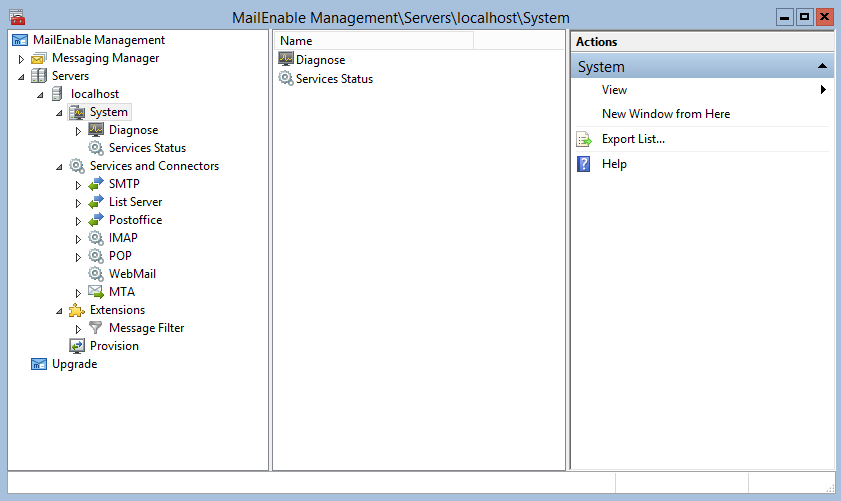
2. The MailEnable Administration program will open and you will be presented with a window similar to the following.
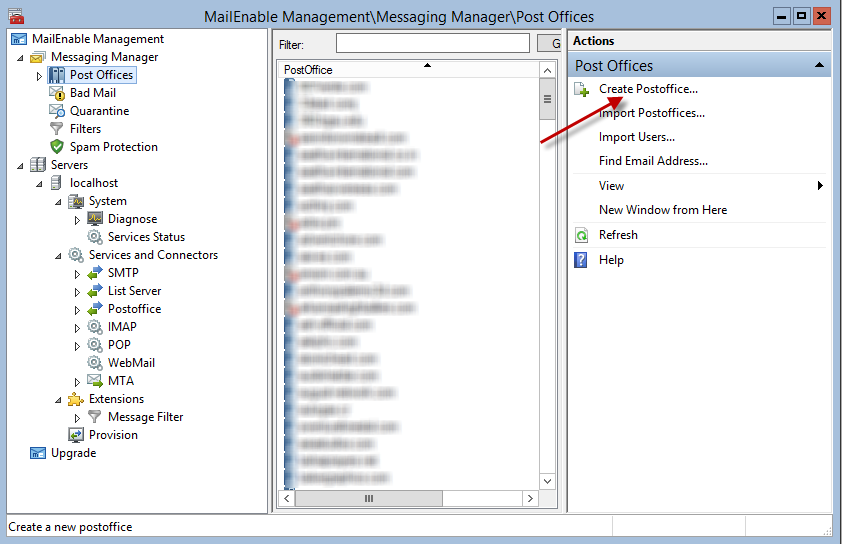
3. Click on the
Messaging Manager branch in the left tree view window of the MailEnable Administration console. In right window, you will now see an icon titled
Create Postoffice. Click this icon to create a post office.
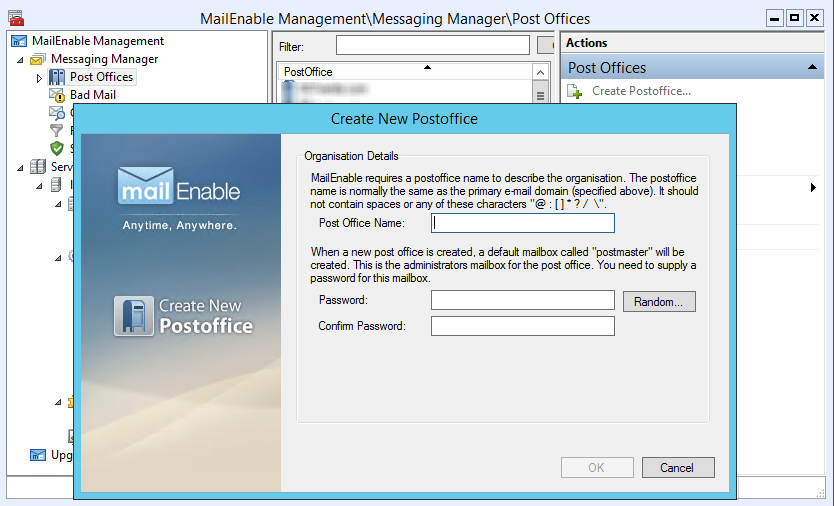
3. You will be prompted to enter a post office name, so enter a meaningful name that describes the client. You also need to supply a password for a default mailbox that will be created for the post office administrator. The post office name is used for mail clients, so usually the post office name would be company or business name.
You have now created a Post Office.